Overview
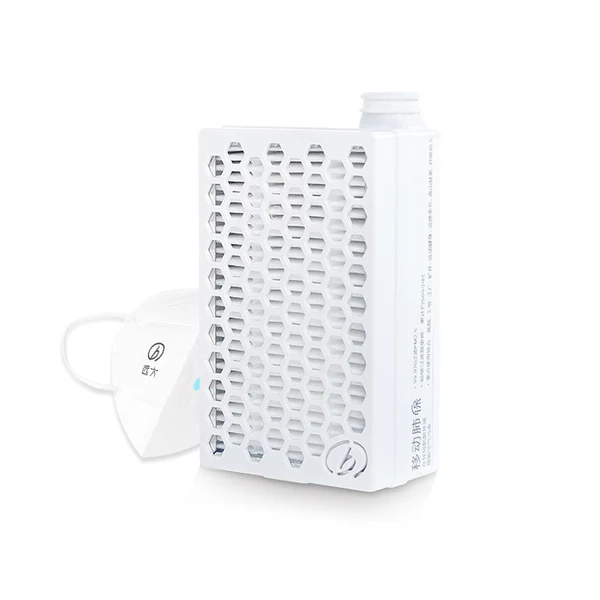
Low-cost Powered Air Purifier
- Lower breathing resistance
- HEPA efficiency
- Lightweight
- Less than $100
This cost-effective PAPR (powered air purifying respirator) typically scores between 1,000 to 6,000 on my PortaCount 8020, which corresponds to a filtration efficiency of 99.98%. By comparison, a fit score of 200 is typical for the popular 3M Aura 9205+, which is considered high enough for use in health care settings. Anything over 500 will put you in rarefied air, as it were.
Powered Air Purifying Respirators (PAPRs) offer a significant advantage in respiratory protection by providing lower breathing resistance, exceptional filtration efficiency, and positive air pressure, which prevents contaminants from entering the mask even in the presence of leaks.
Note
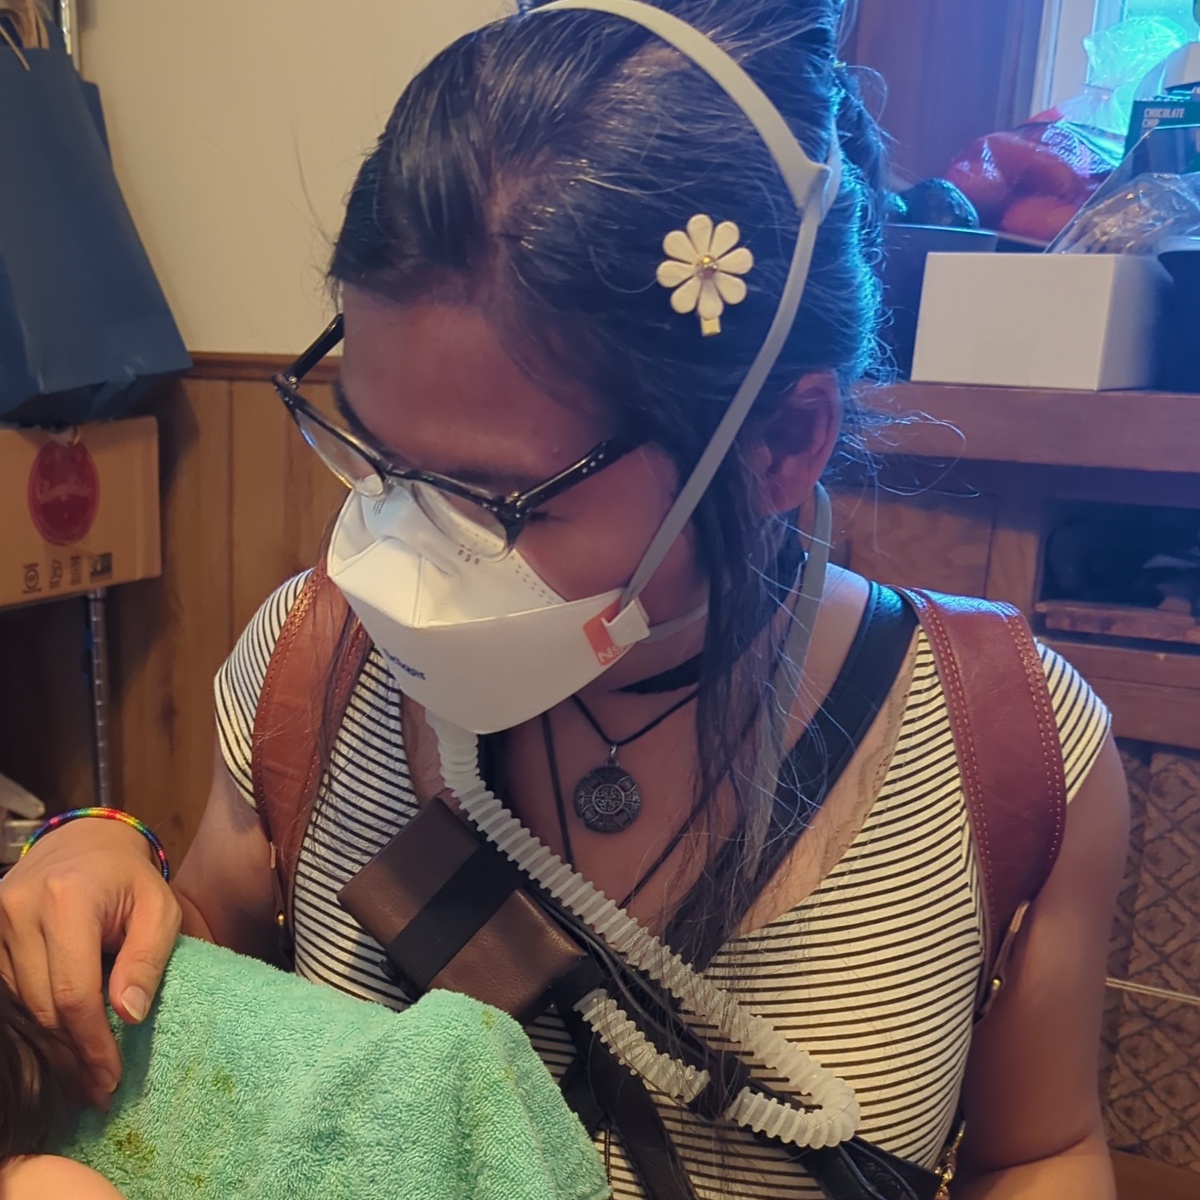
Unlike the typical PAPR system which often uses a loose-fitting hood that blows unfiltered air into the environment, this is a closed system that uses a well-sealed mask to protect others and yourself.This build has completely changed my life, allowing me to comfortably wear a mask during exercise, and for much longer than before. I have helped people move while masked. I can feel confident about my protection in crowded places. The mask breathes so well that I don’t need a separate setup for use outdoors.
Use these instructions to create your own lightweight PAPR.
The Broad AirPro
This build is based off of the Broad AirPro, a lightweight and budget-friendly PAPR suitable for most residential/commercial settings. Off the shelf, however, the unit has leaks. Without modifications, it achieves a fit score of around 40, far below the standard required for effective protection.
The HEPA filters that come with the unit, however, are H13 rated, a very high filtration efficiency. To fully realize this potential, modifications are necessary.
Fit Scores and Infection Risk
A useful way to interpret fit scores is to consider the additional time the mask provides you in a room with an unmasked infected person before transmission occurs. If the estimated infection time without protection is one minute, a fit score of 1,000 would extend this to 1,000 minutes—equivalent to spending the whole day.Plug the leaks
Refer to these instructions to plug up the leaks of the Broad AirPro and achieve the full filtration efficiency that the unit is capable of.
There are a few major sources of leakage that allow unfiltered air to enter the chamber. These leaks were found using the PortaCount 8020. Every one of them must be plugged.
Please refer to the materials page for a complete list of materials and costs.
Power Button
Cover the power button with a square of 3M Nexcare Blister Prevention Tape. This tape is chosen for its flexibility and water-resistance.
Warning
3M Nexcare refers to a product line, not an individual product, which includes breathable tape that is NOT airtight.Any flexible and water-resistant tape will work for this mod.

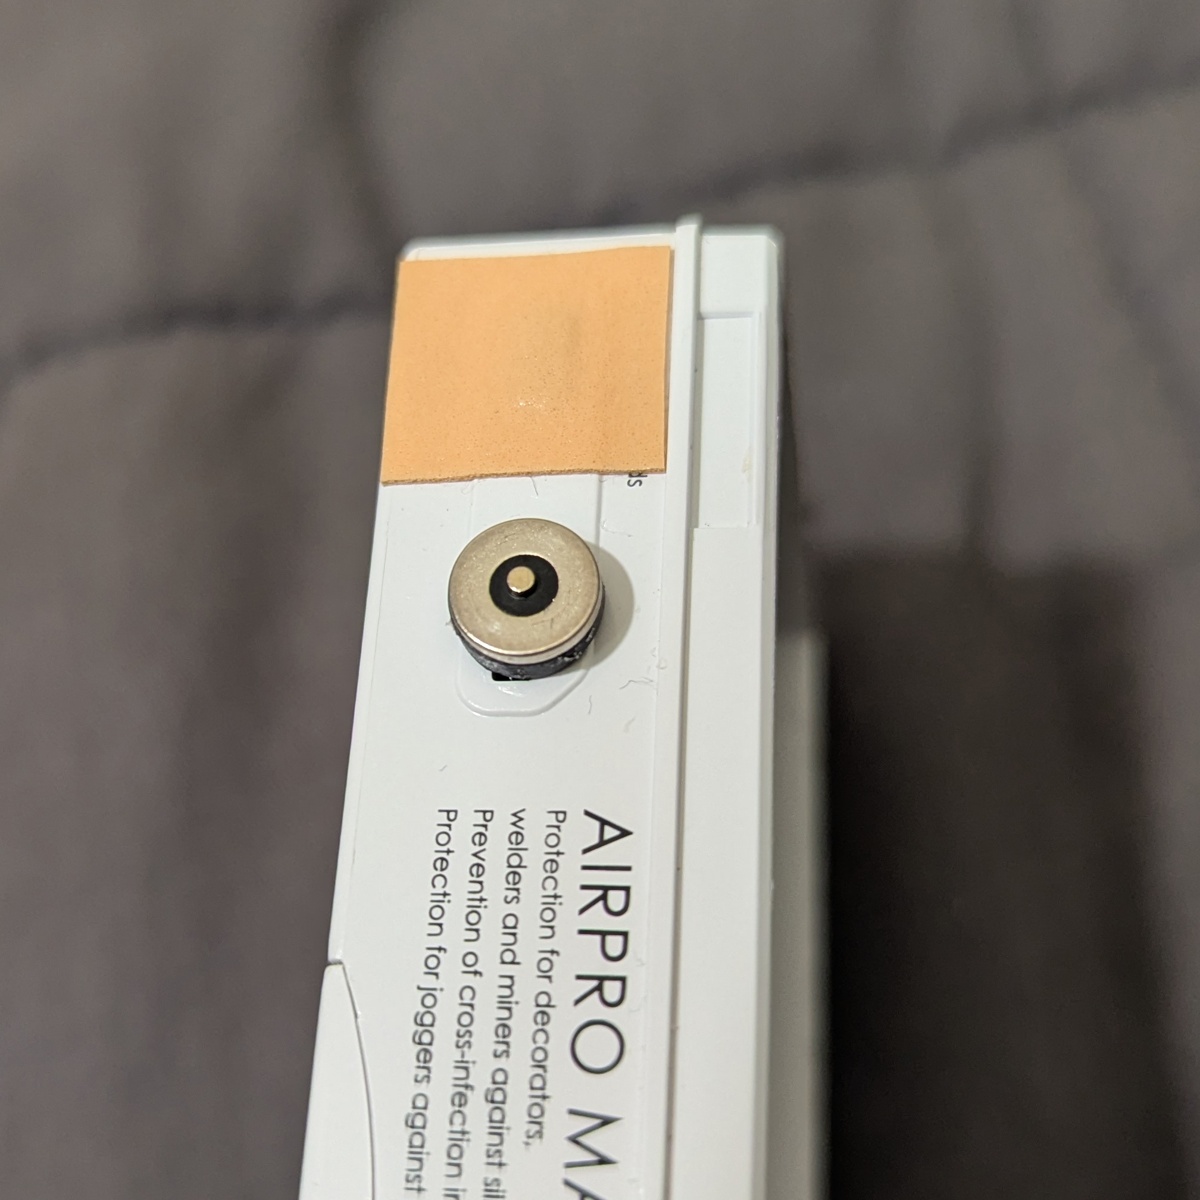
Charging Port
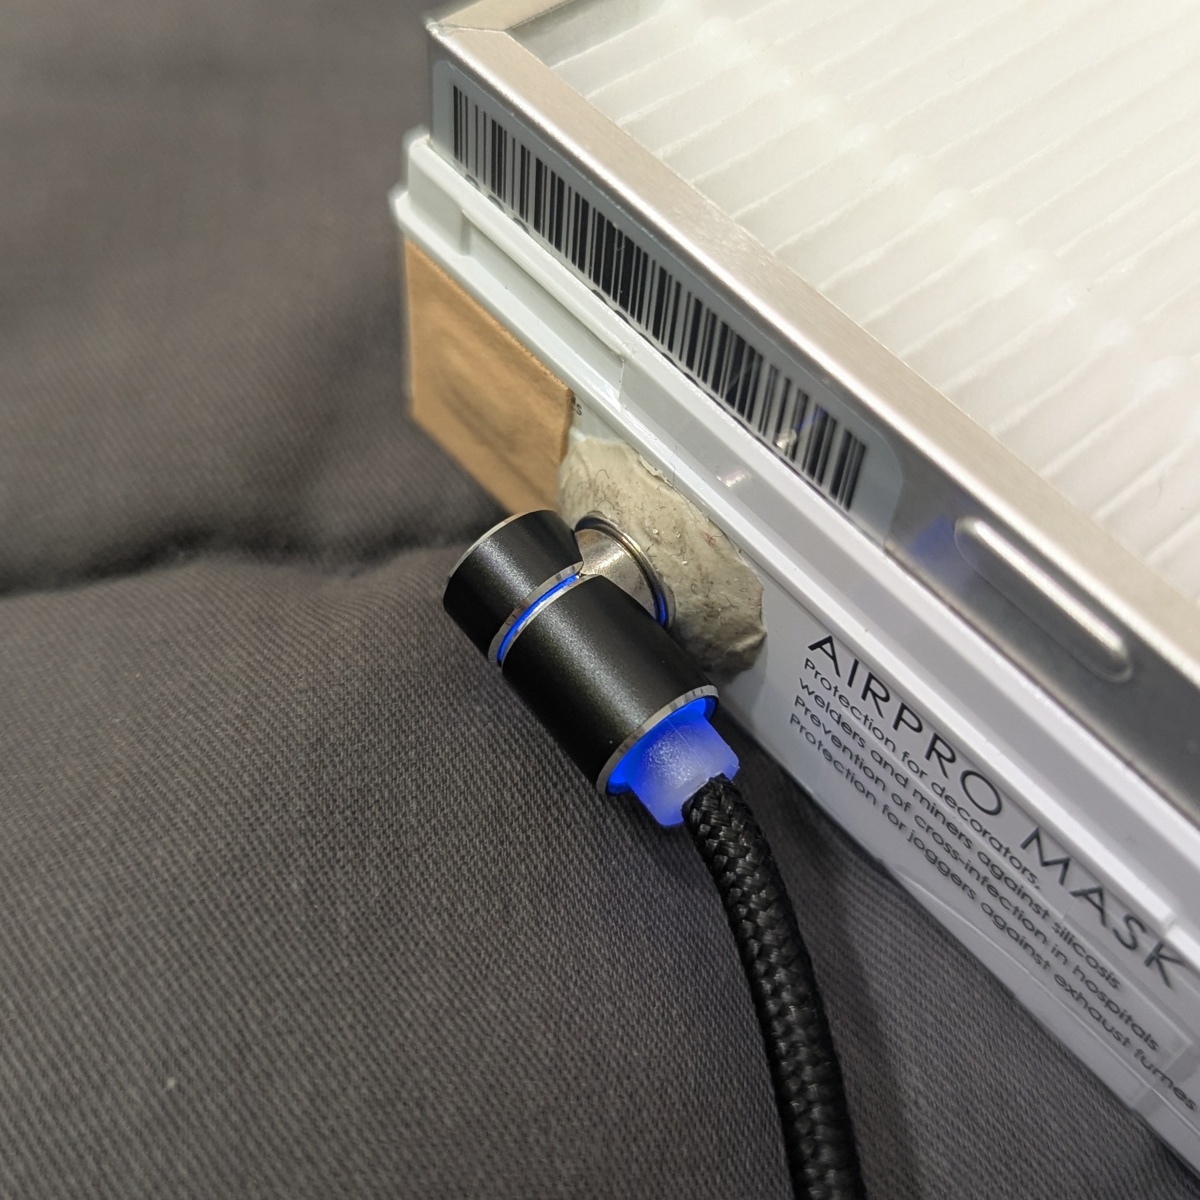
The charging port must be permanently covered. We will use a magnet charging adapter that fits into the micro USB port. This allows you to close off the air to the port and charge the battery.
Start by installing the magnetic charging adapter.
Lay a strip of poster putty around the adapter. Using a combination of finger pressure and toothpicks, smush the putty against the adapter and case to form a seal.
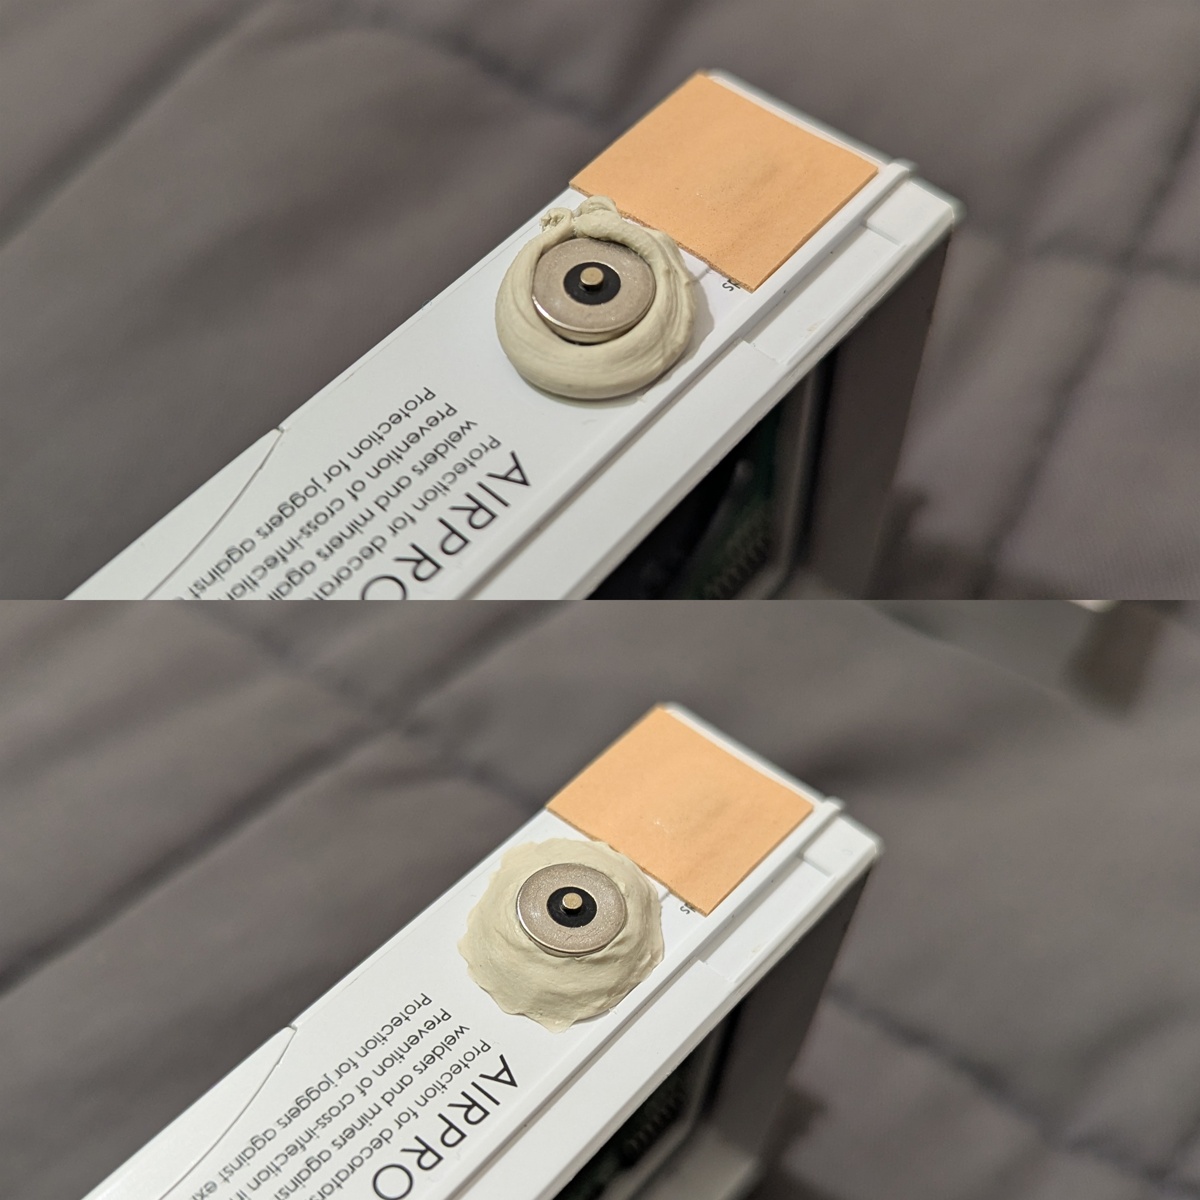
Alternatively, hot glue may be used. For maintenance, hot glue can be removed using a dash of isopropyl alcohol.
Here is the unit with charging cable attached:
LED Panel
The tiny holes for the LED panel must be covered. These holes make a very big difference on fit tests. Cover the LED panel with Scotch Heavy Duty Shipping Tape, or any tape with good visual clarity.
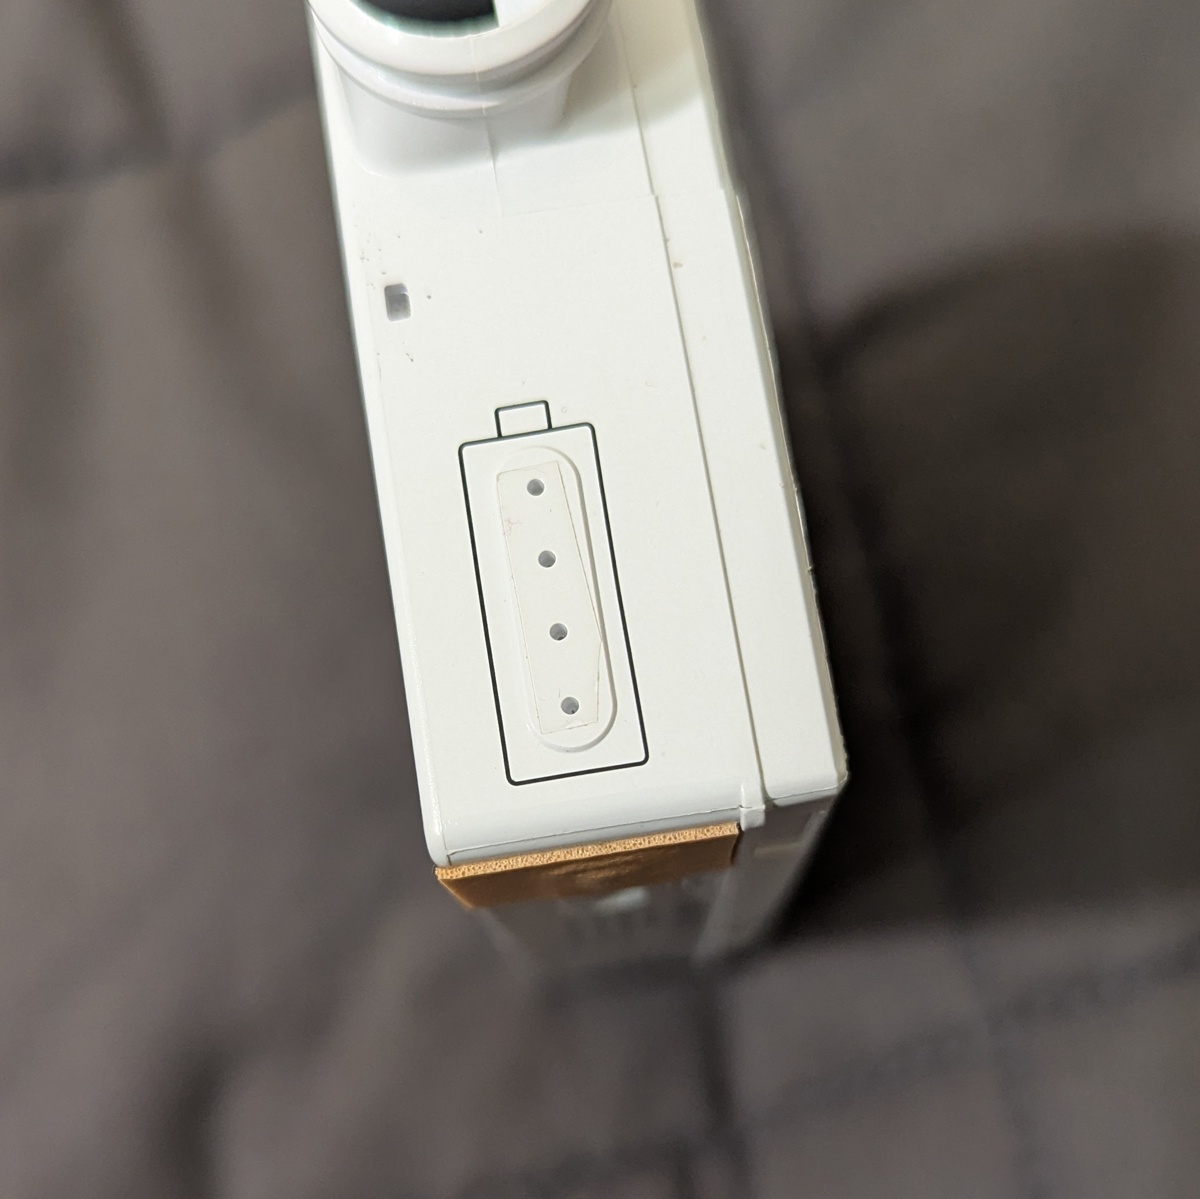
It’s important to keep the tape inside the oval. Any tape that hangs over the edge of the oval can be levered off by pressing on it, and invites the ingress of oil/grease which will dissolve the adhesive. If you have a hard time cutting and applying a small piece of tape, consider using clear nail polish.
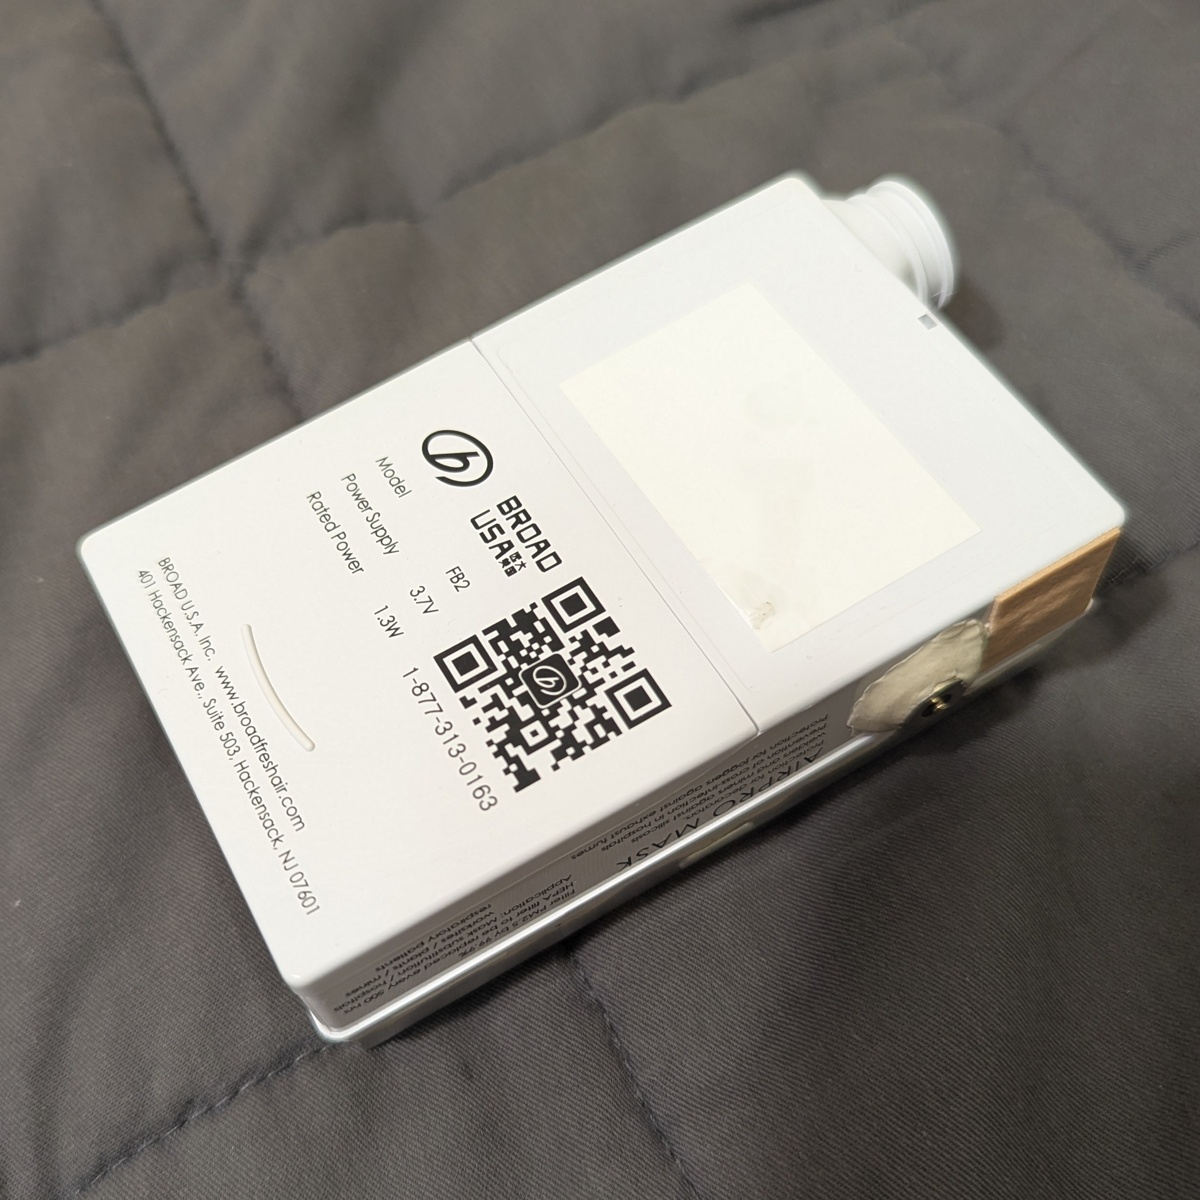
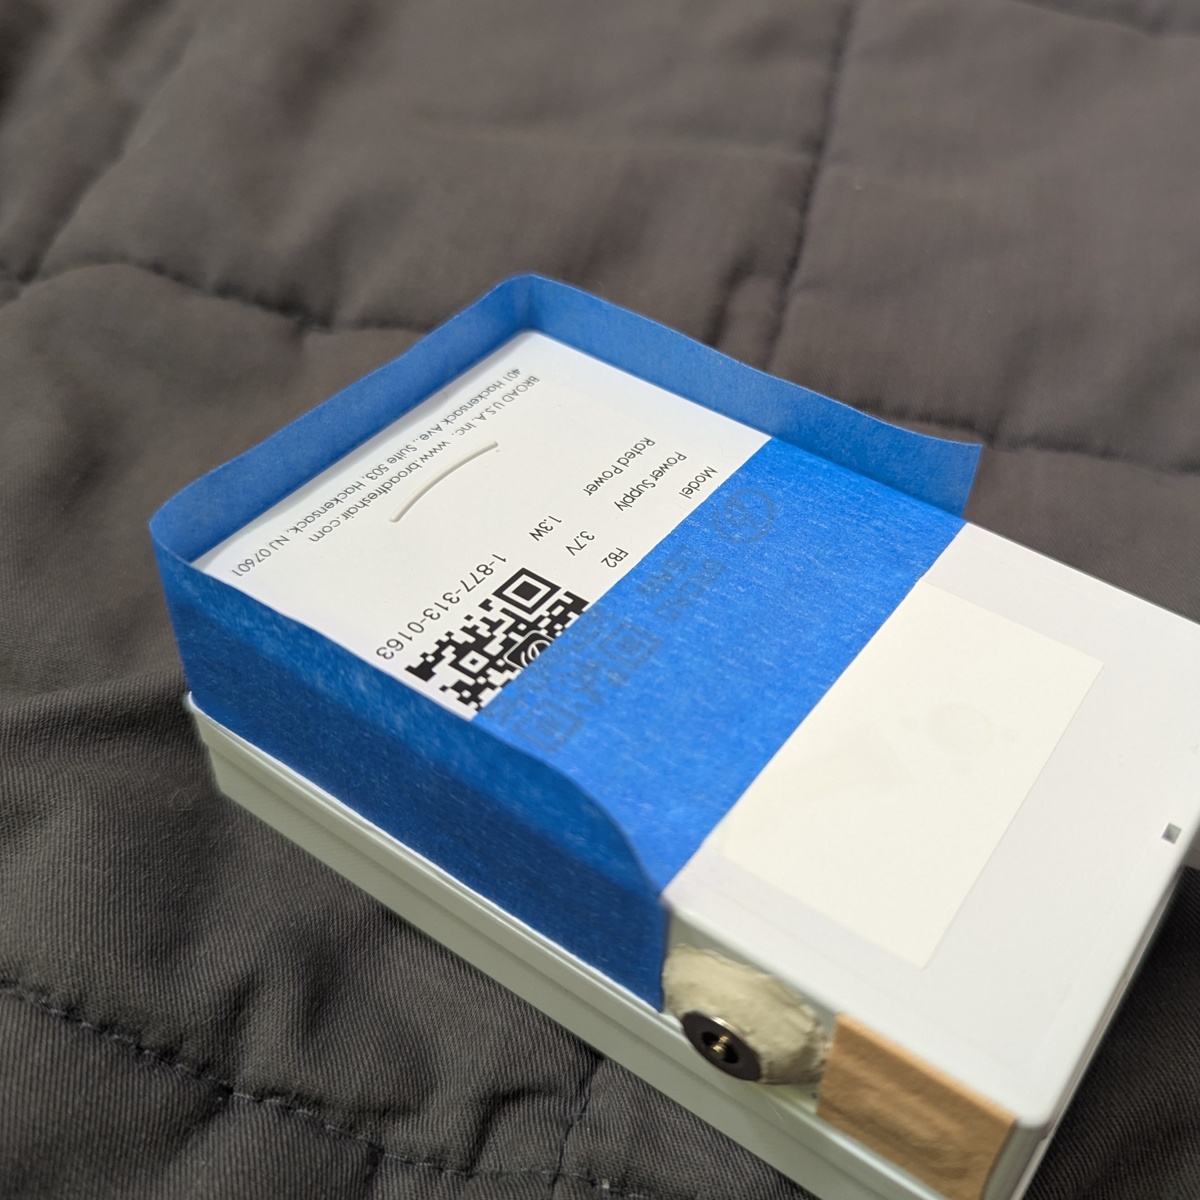
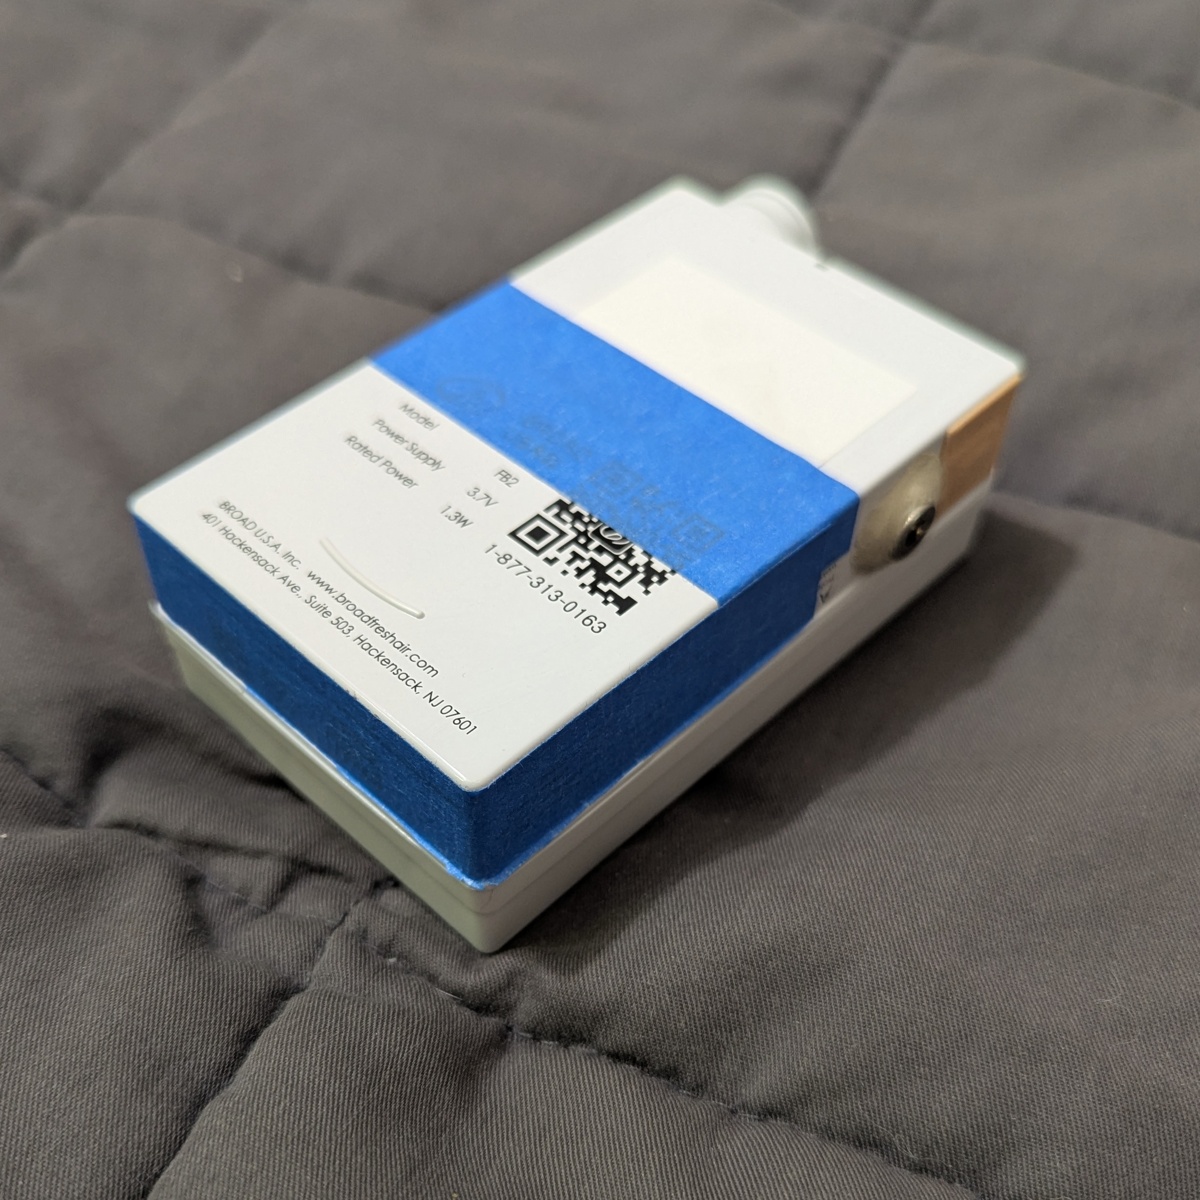
Battery Cover
Even though the cracks look thin, the battery cover is a major source of leakage.
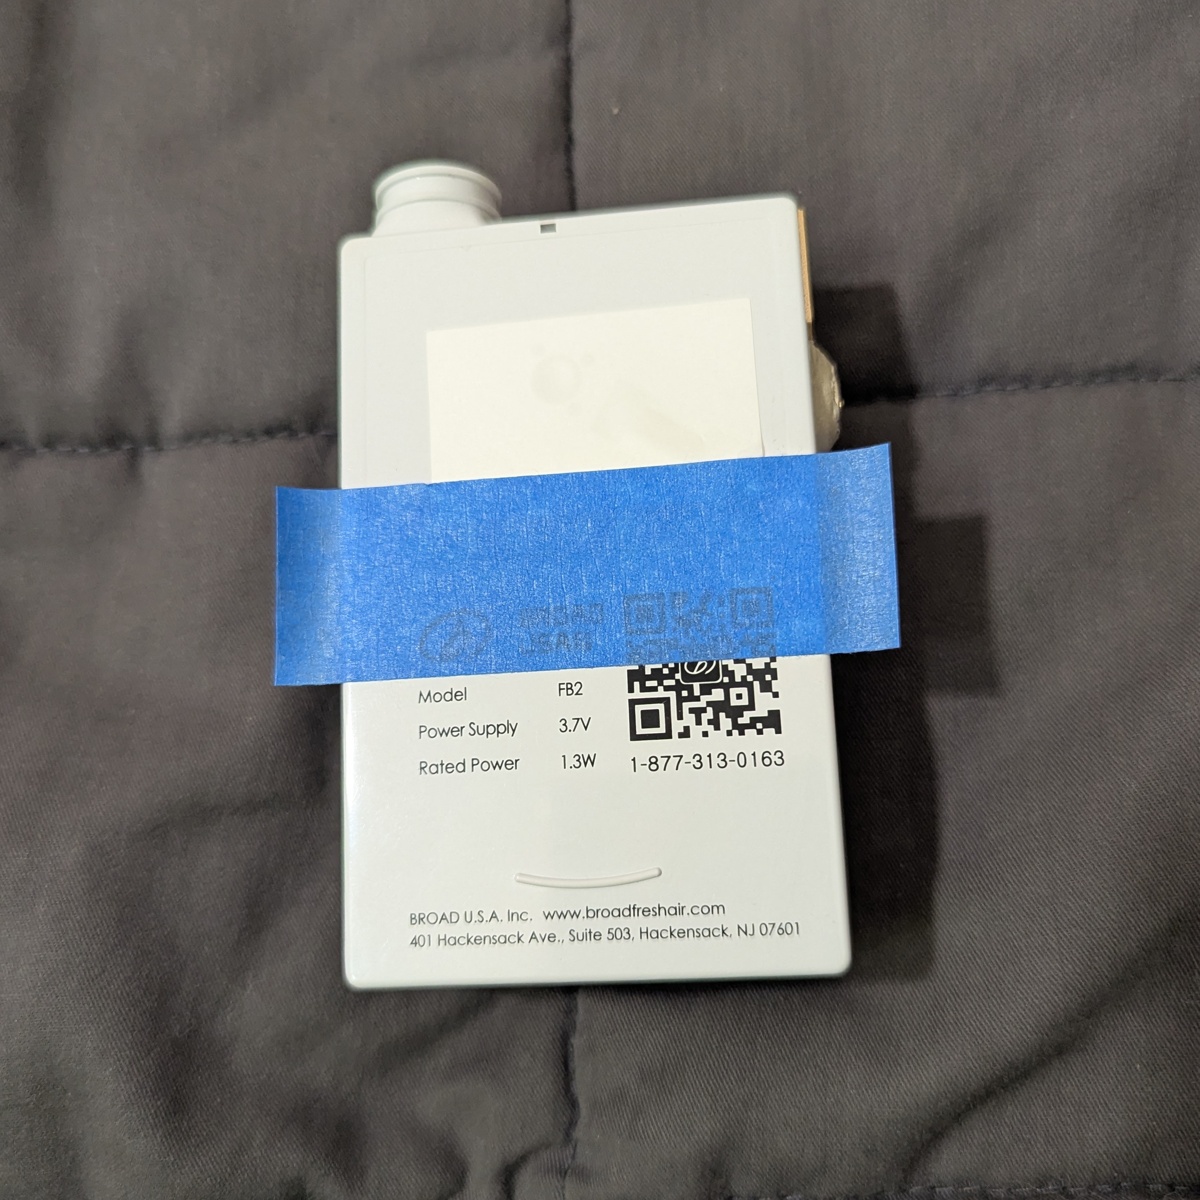
We can seal this leak using tape. We will use blue masking tape for demonstration purposes. Instead, you should use packing tape, or any airtight tape for your build. The tape must be thin, or else overlapping tape creates a channel for air leakage.
Electrical tape is not recommended. Over time, heat melts the electrical tape causing black sludge to seep out of the edges.
Lay a strip of tape across the top of the battery cover, with about 1/4 inch of overhang. Press the sides down.
Surround the sides of the battery cover in tape.
Cut off the excess tape.
For a smoother look, you can take the tape off and then flip it so that machine edge lines up with the case edge.
The battery cover is now sealed.
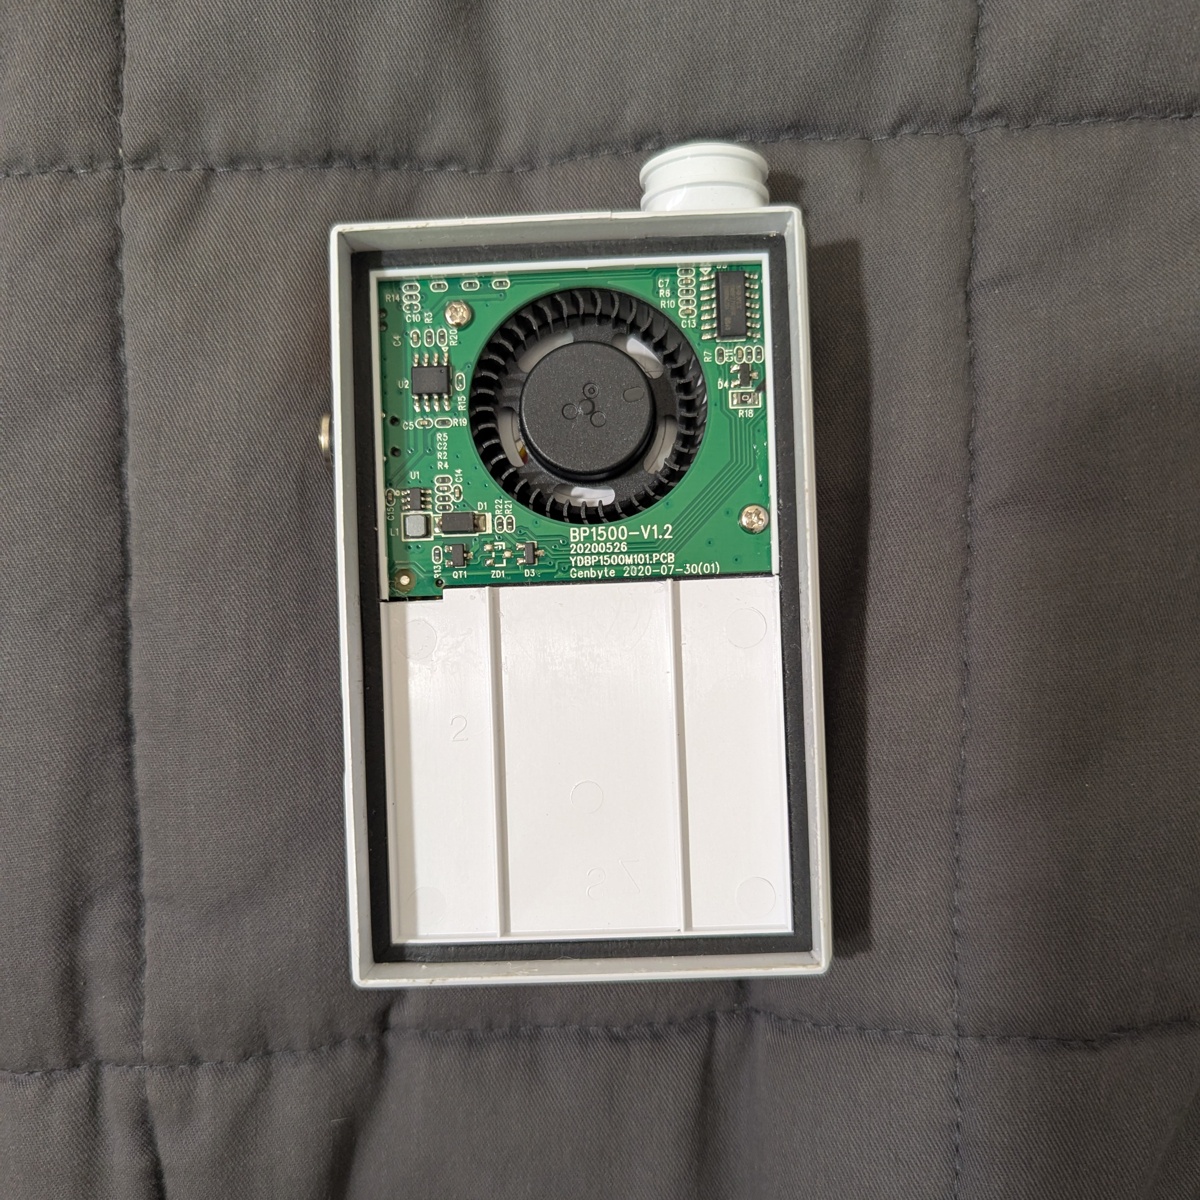
PCB
If the other leaks are plugged, then this is optional. I still recommend taking this step as a failsafe to ensure that air takes a direct route from the filter to the blower.
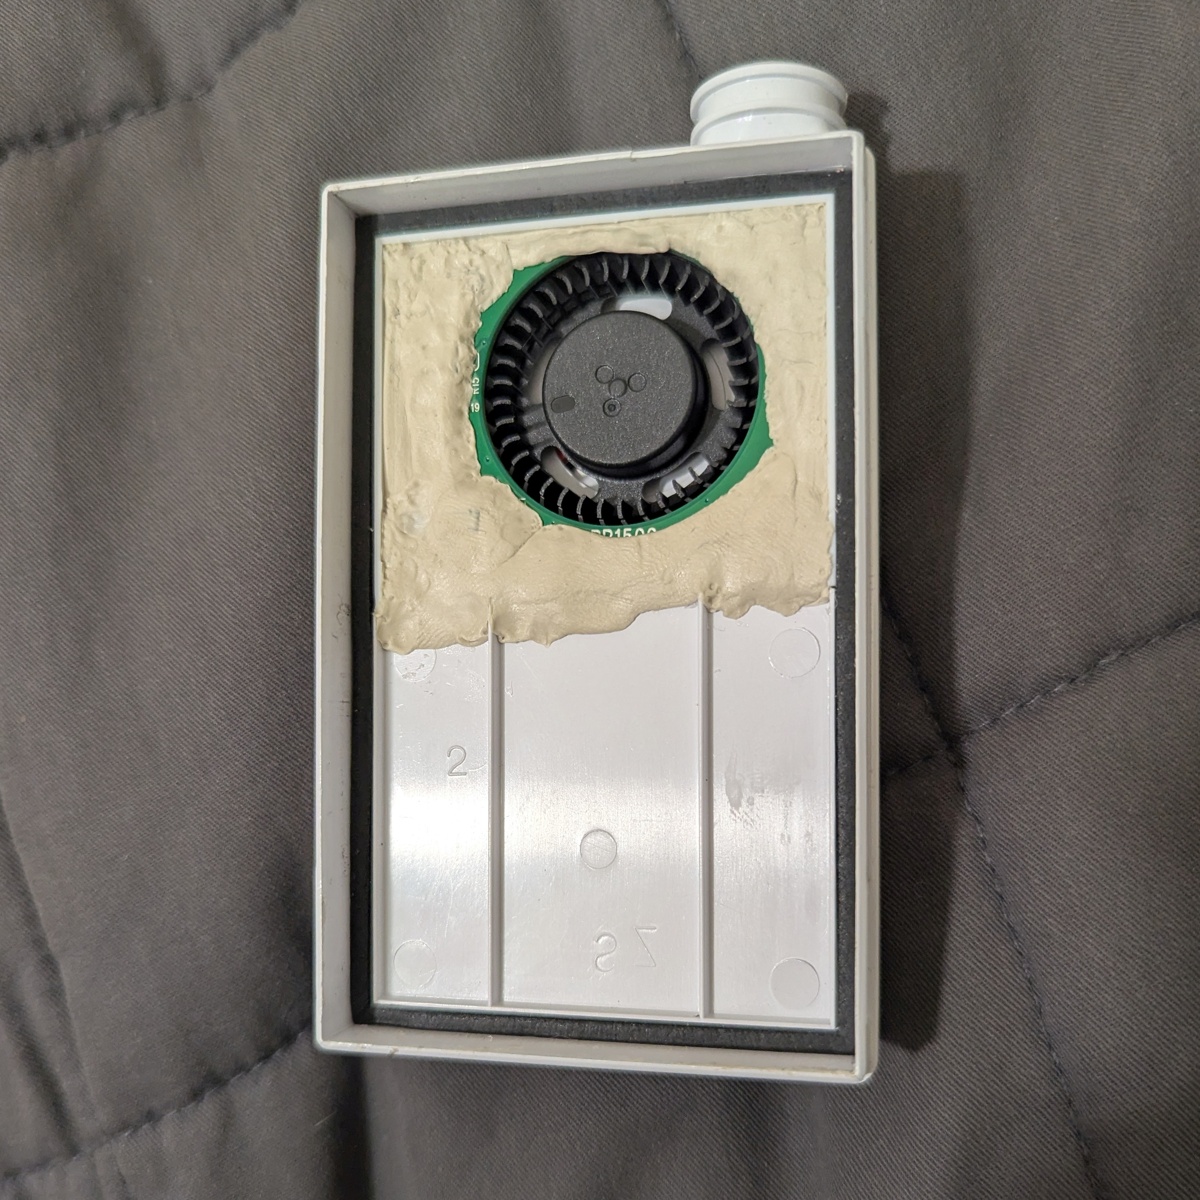
Pop open the front cover and take out the HEPA filter.
Lay down stretches of poster putty, starting with the edges. Do not cover the black gasket seal.
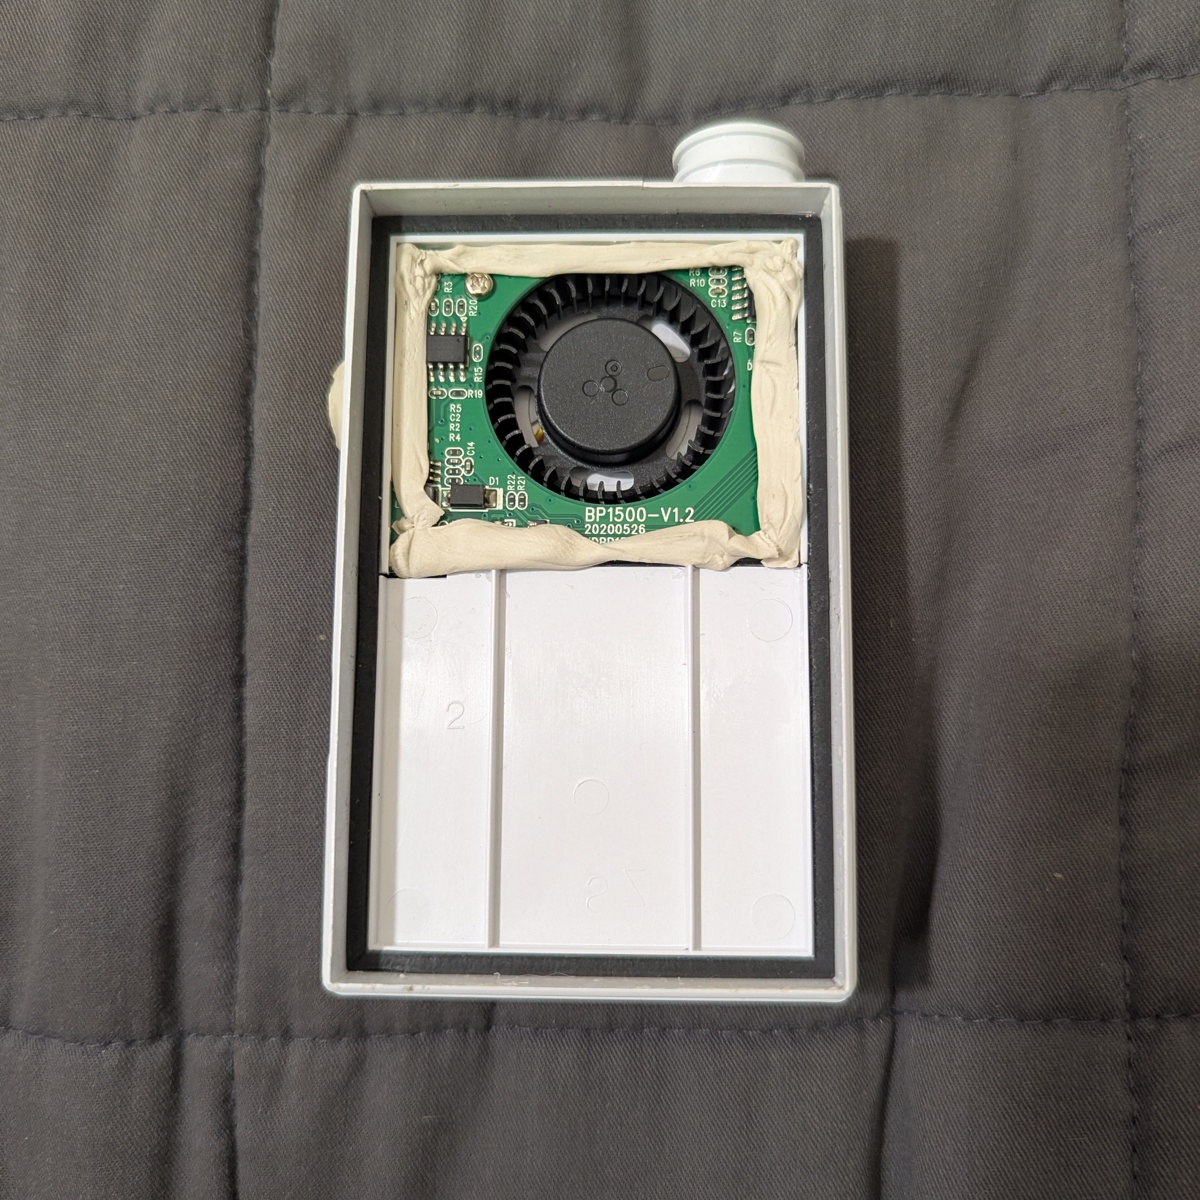
Lay down more putty until the PCB is fully covered.
Tip
Covering the entire PCB saves time since you don’t have to navigate all the tiny crevices of the board components.Using a combo of finger pressure, a smooth pen cap, and a toothpick, shape the putty to close off gaps.
HEPA filter
Re-install the HEPA filter. Refer to the materials page for replacement filters that meet the H13 filtration standard.
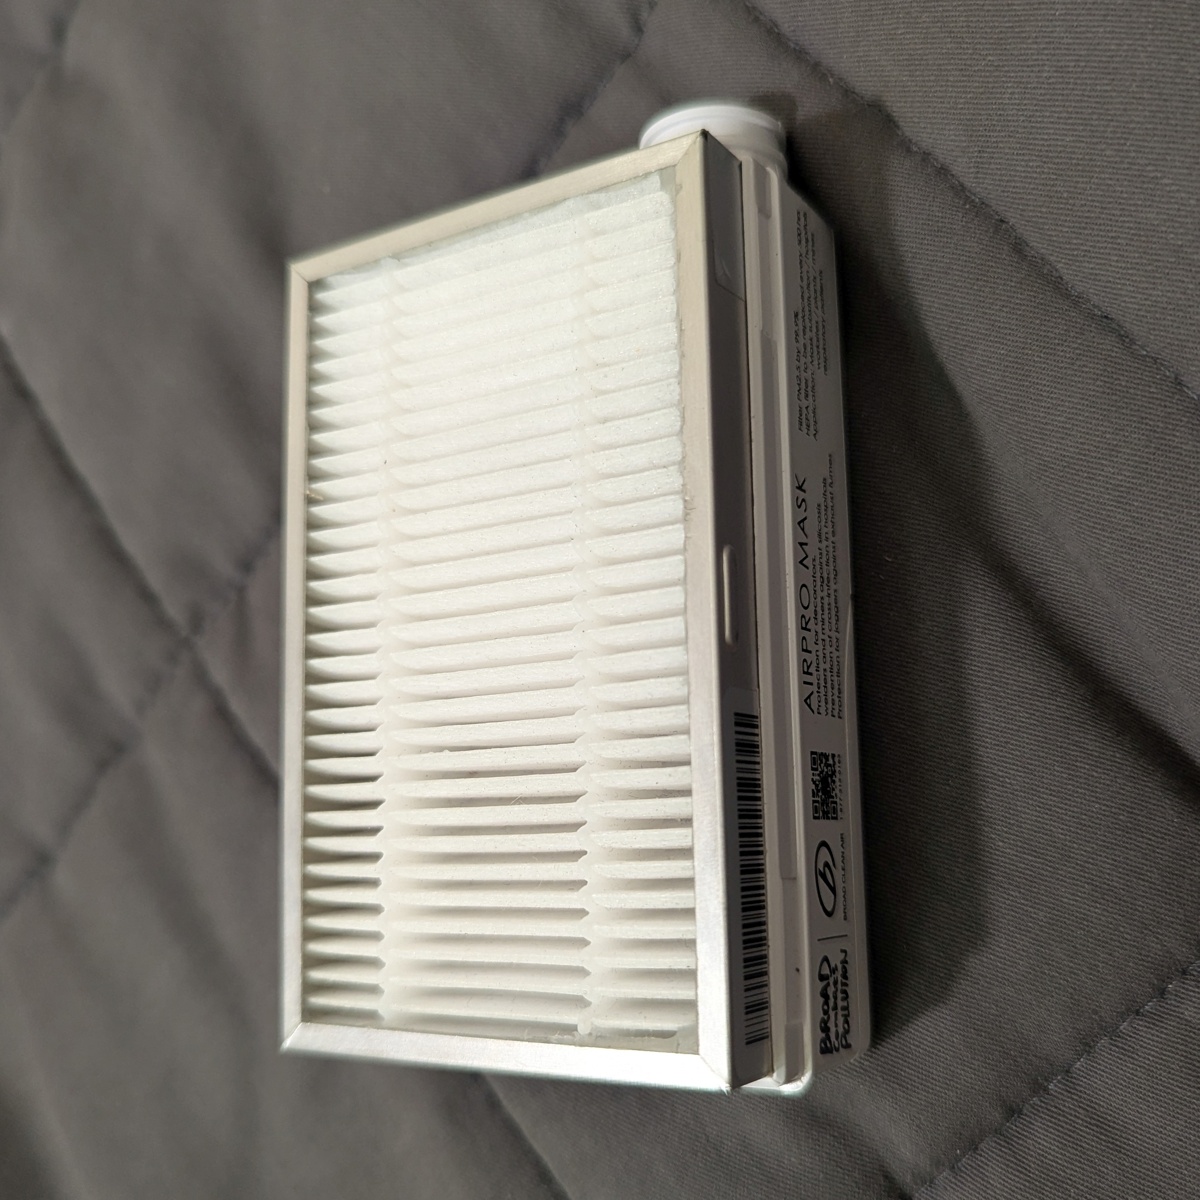
Use thin strips of poster putty and seal the edges above the rim. Stay clear of the white case so that the cover can close flush to the case.
Finish by closing the cover over the HEPA filter.

Secure the hose
The hose comes loose too easily at the base. You can secure it using a retaining ring made from a Velcro cable tie.
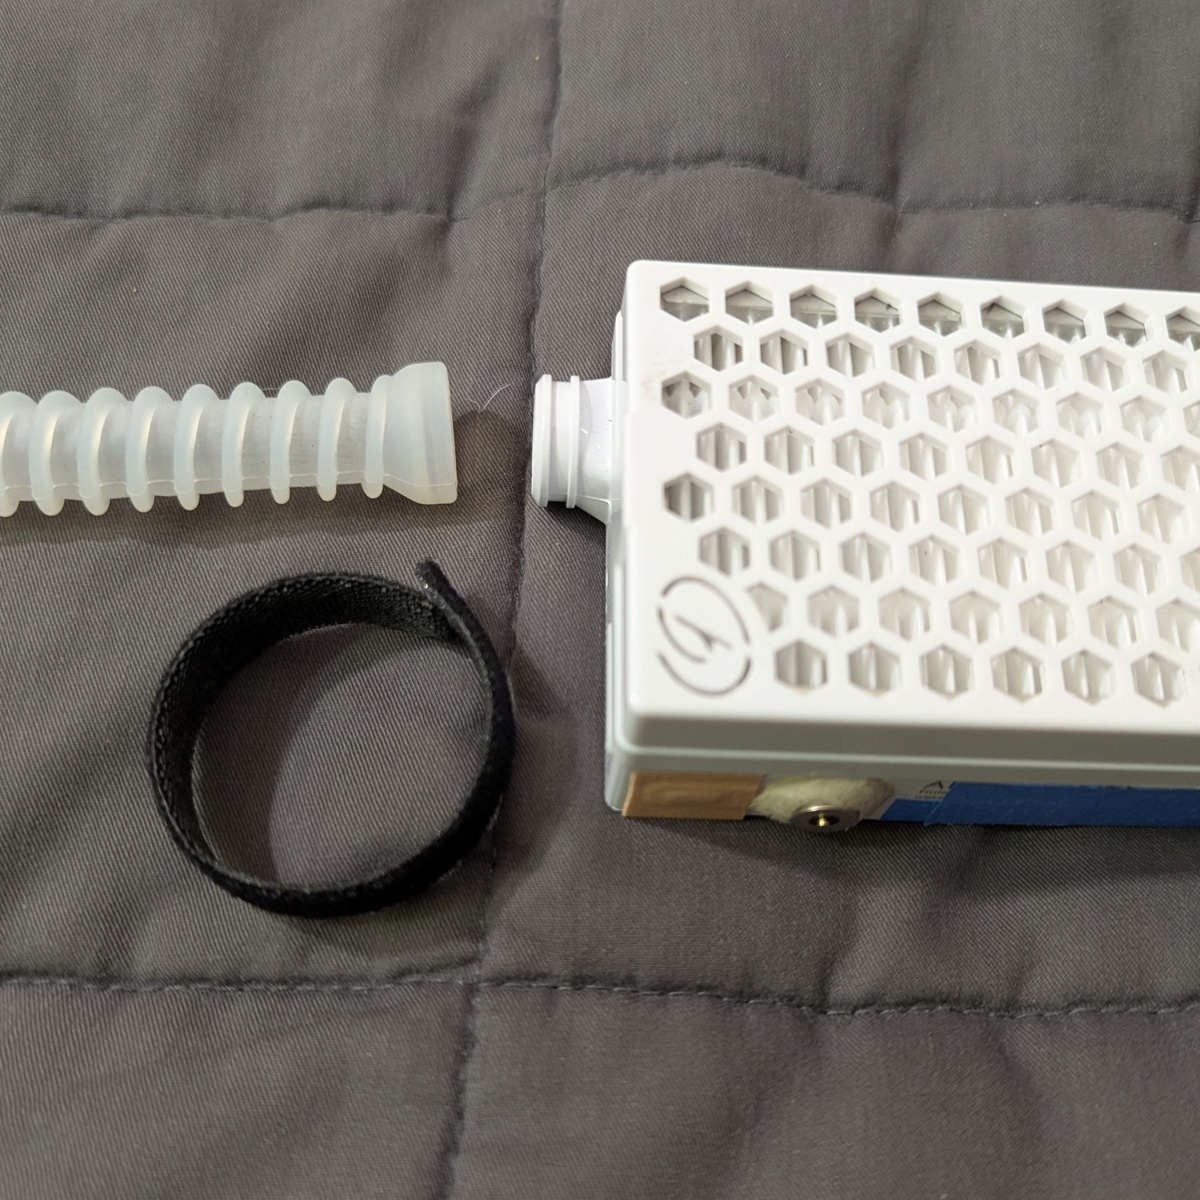
Simply install the hose, and then cinch the cable tie around the hose, with fuzzy side out.
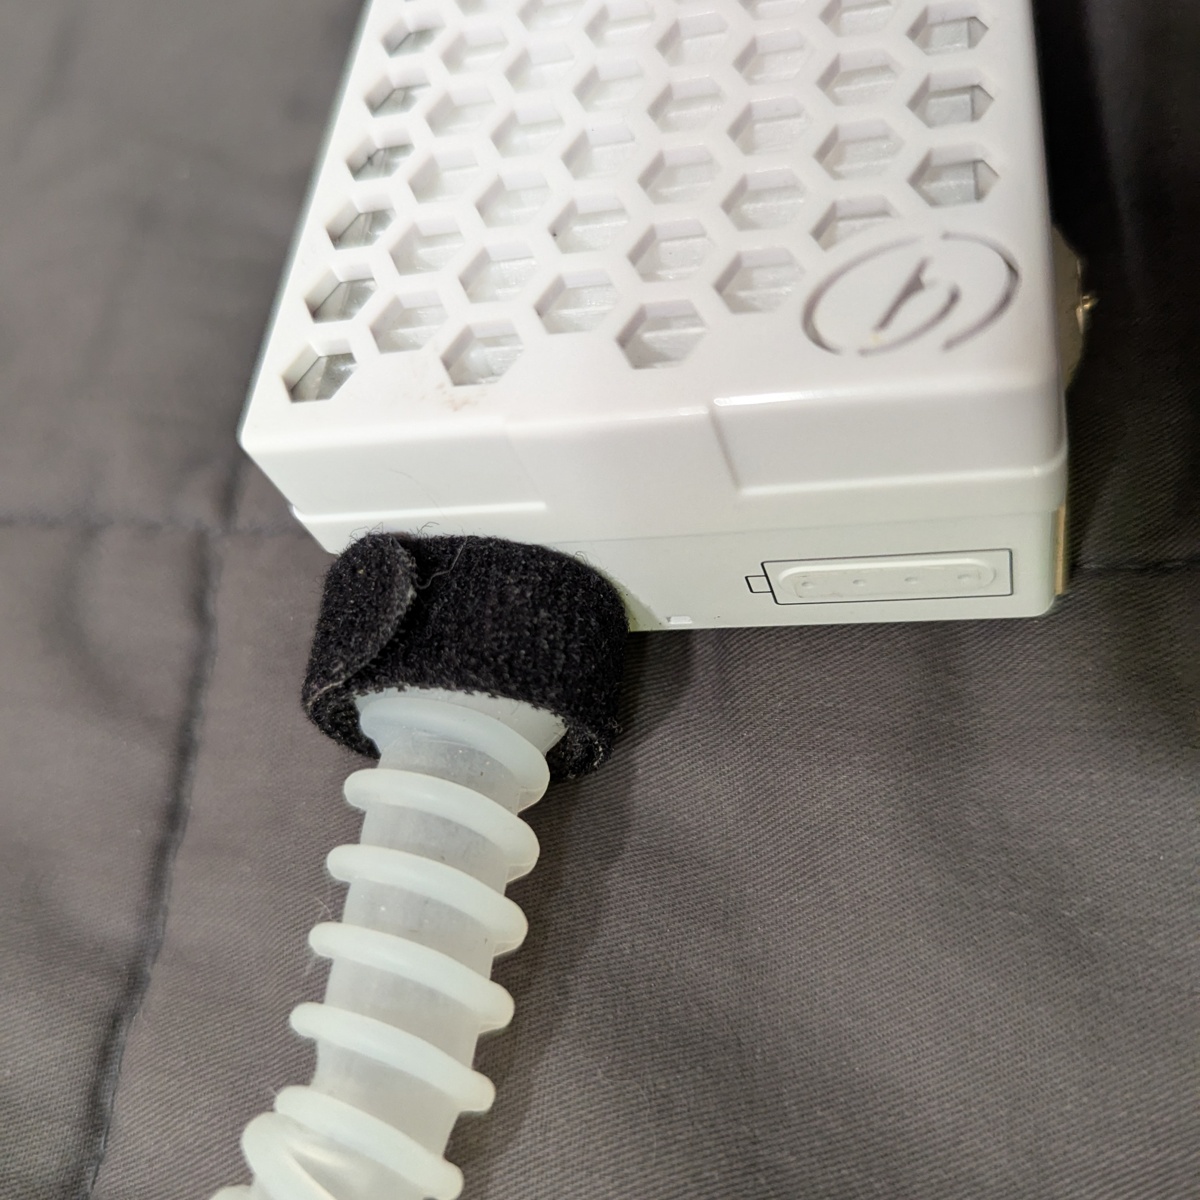
The hose is now secured.
Attach to the mask
The hose can be attached to any mask as long as there’s enough tension on the strap to hold the weight of the hose. My favorite mask for this setup is the Drager X-plore 1950 M/L with a strap taken from the Envo Mask Pro.
Warning
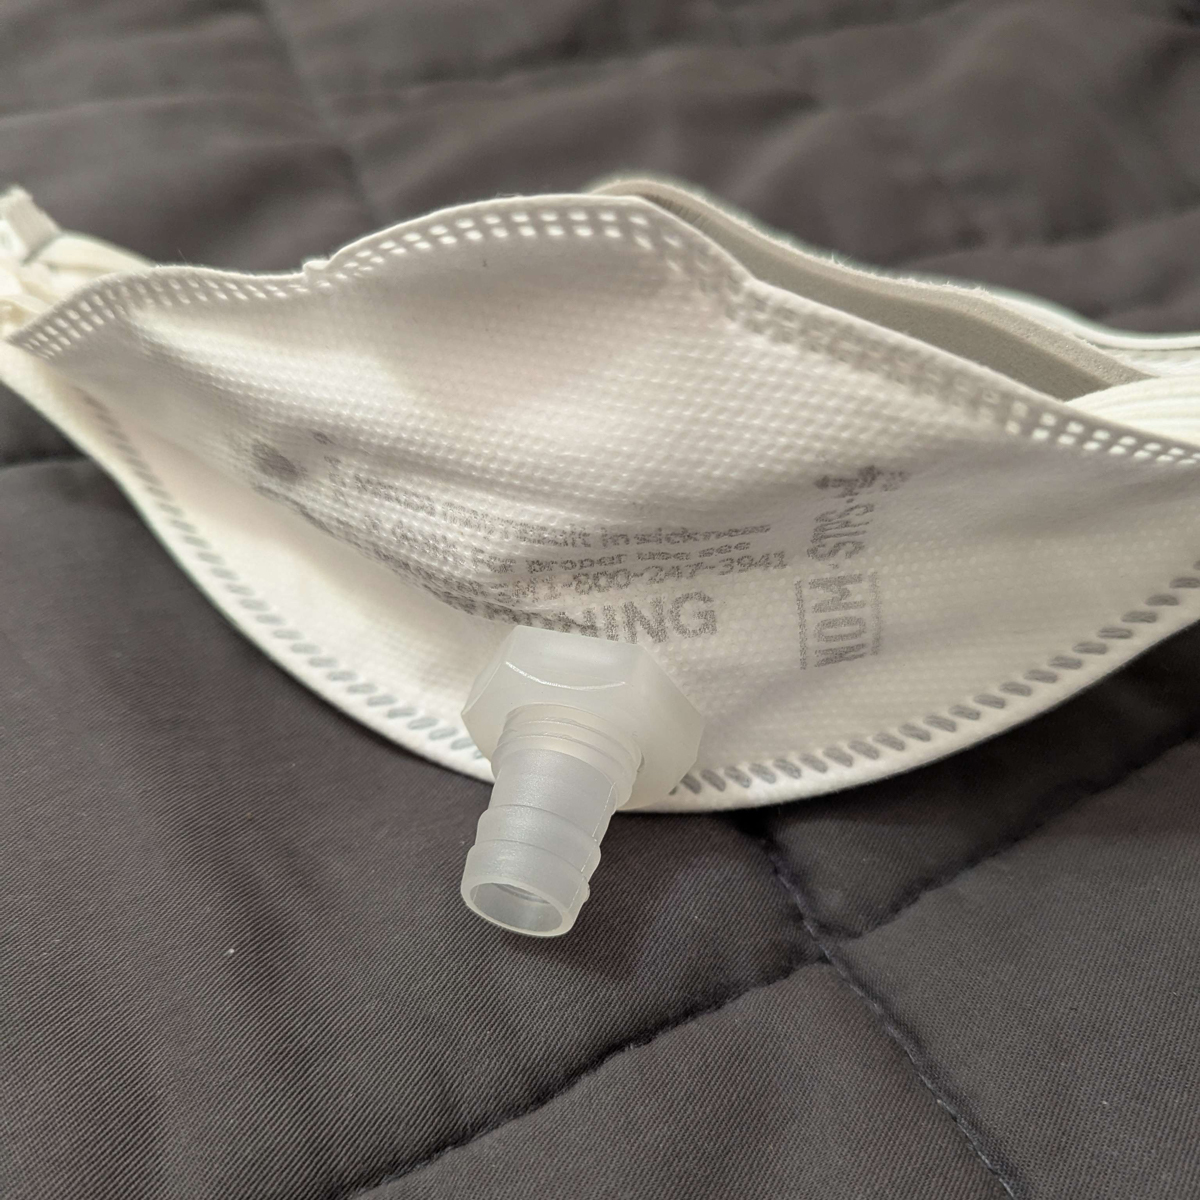
To provide source control and protect others, only use a well-fitting N95 or better with this setup.If using a trifold mask: the tube should be mounted on the bottom fold. To demonstrate, here’s the bottom of a 3M Aura 9010+ with a 11 mm hole punched using a leather hole punch.

The Board AirPro comes with a hose connector that might come loose while wearing the mask.
A more secure connection [is available here] (https://a.co/d/iDBuav8) (# 1/2” Thru-Bulk Bulkhead Plastic Hose Barb Fittings Union Adapter Fittings for Aquarium Fuel Gas Liquid Air with washers).
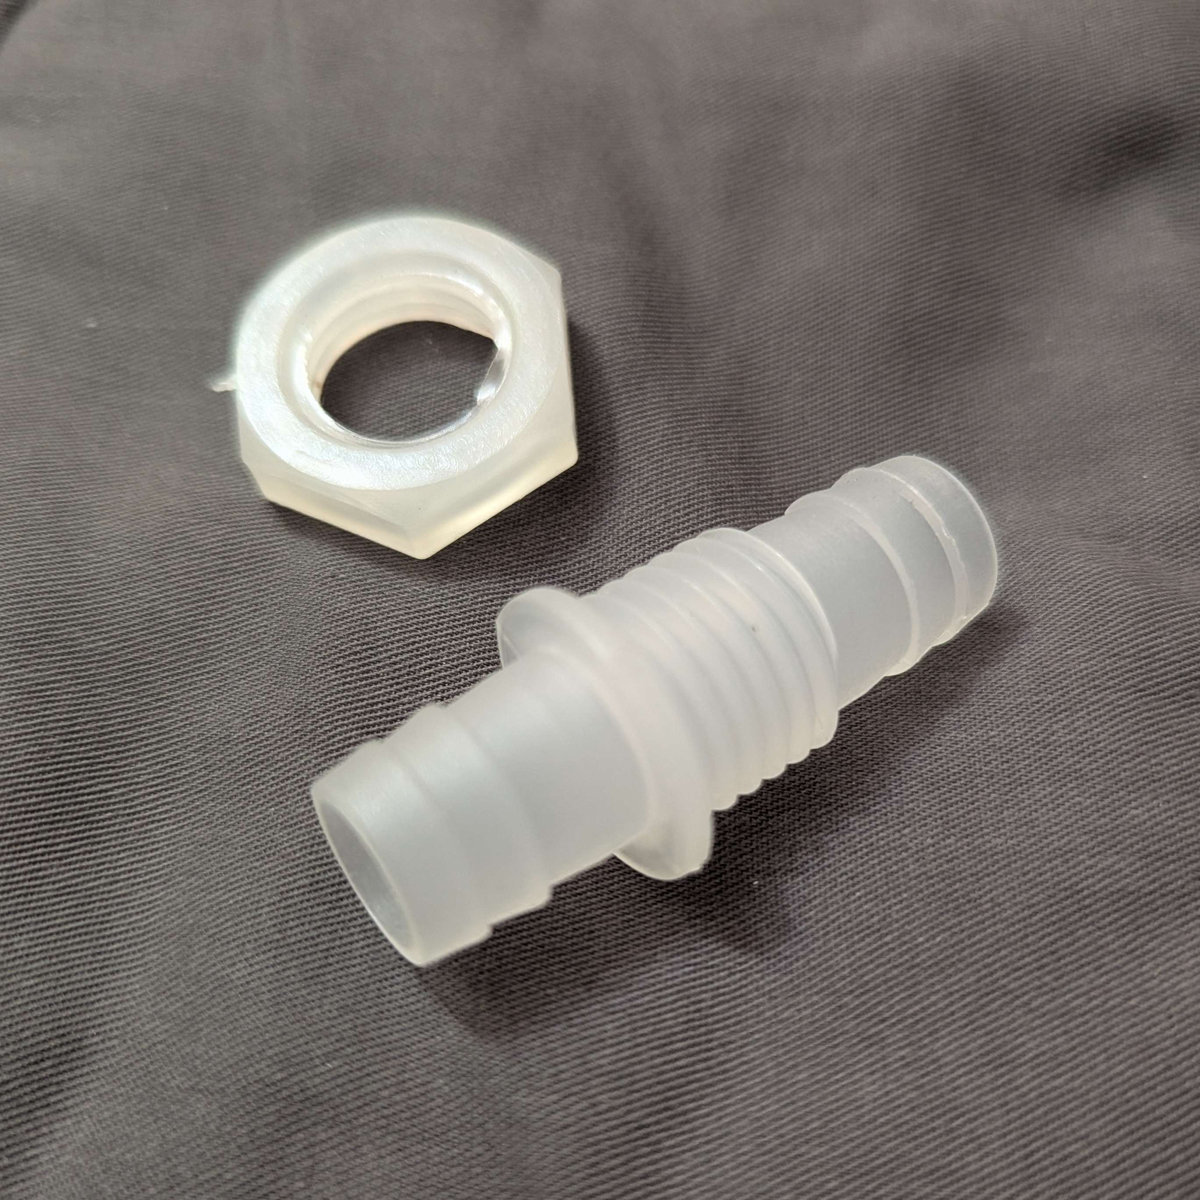
However, this connector requires cutting off the non-threaded end, as shown here:
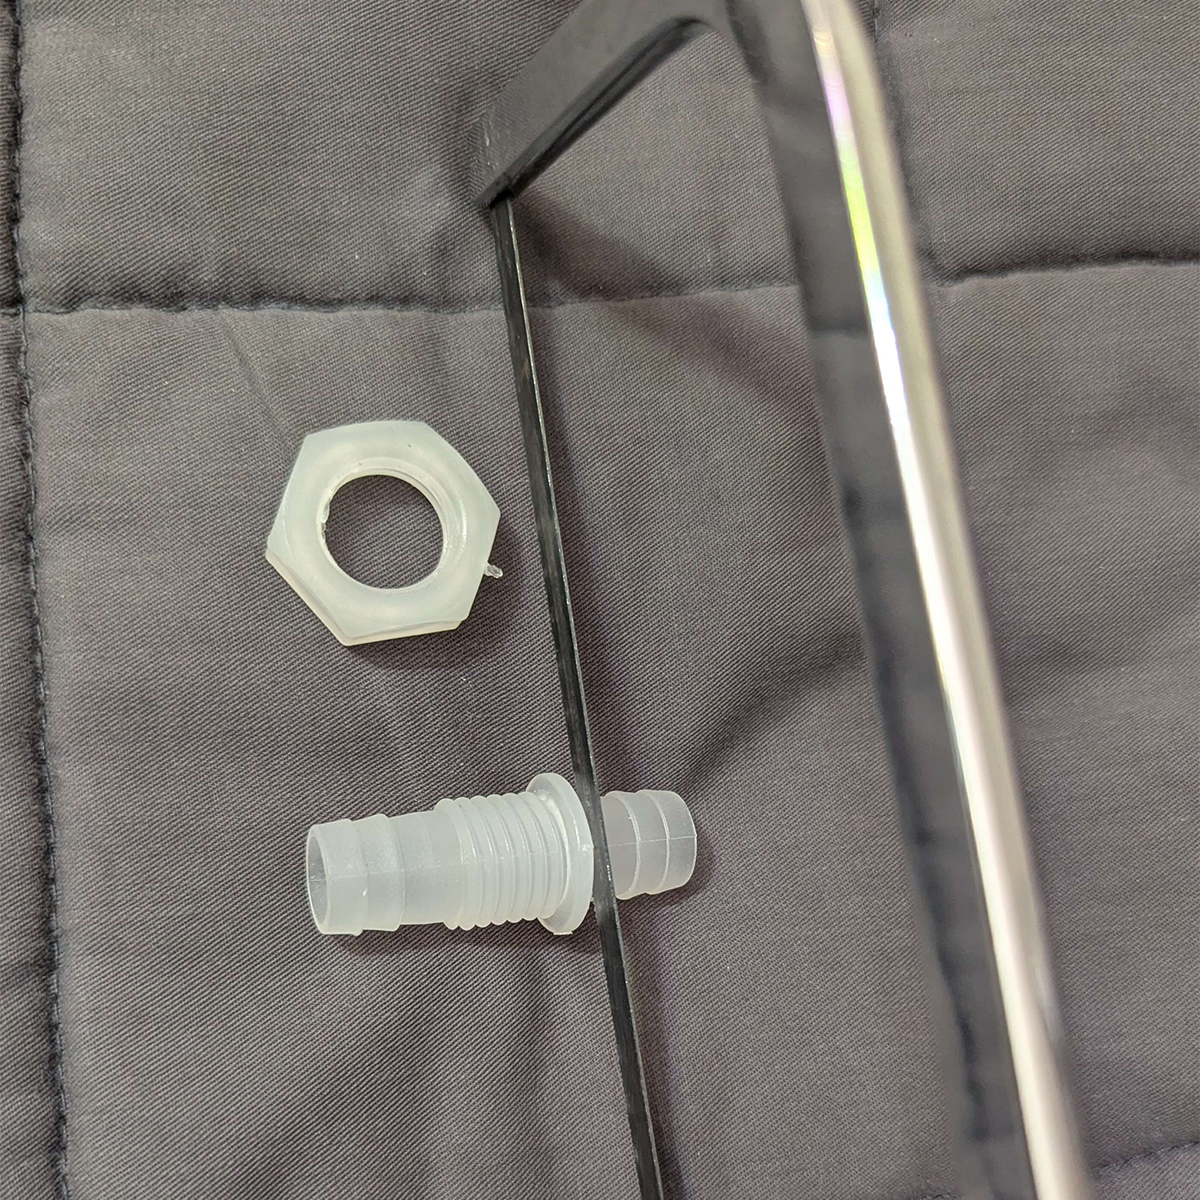
Once removed, it can be installed by screwing in the included nut.
Attach the harness
While the blower unit is lightweight, it must be secured to the body to prevent kinks in the hose.
We recommend the following method of attachment:
34-59 inch leather purse strap. (To wear around the shoulder.) Half inch elastic band. (To attach the blower unit to the strap.) Purchase links are in the materials page.
The unit with harness:

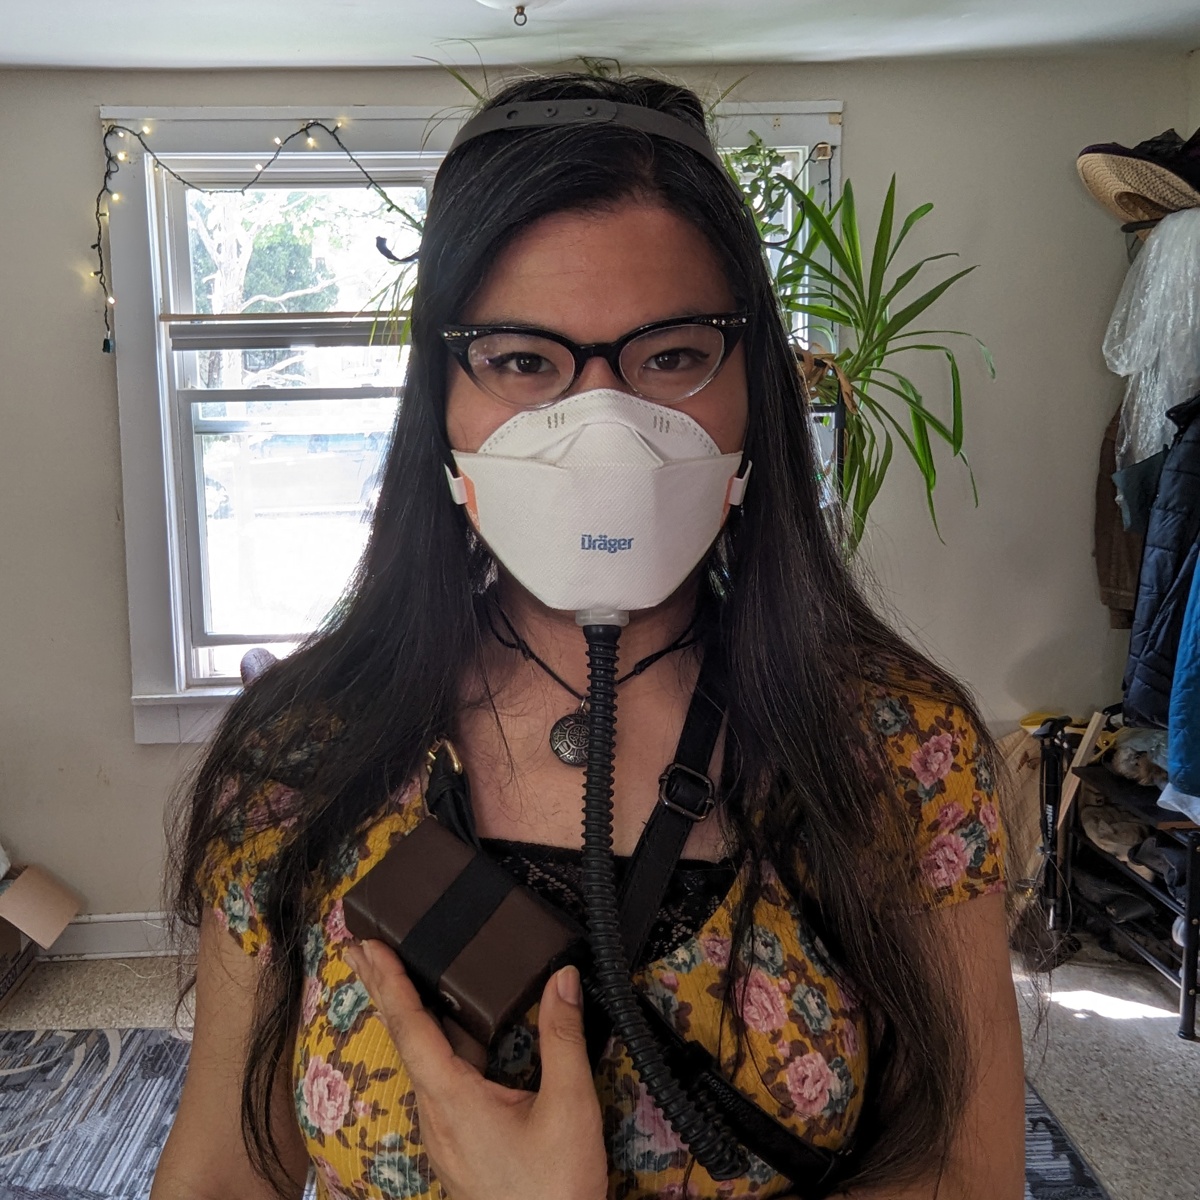
How it looks when mounted (with leather cover and black hose):
Warning
The black hose seen here is an aftermarket part. Testing shows significantly reduced airflow compared to the original part.I recommend that the blower unit is mounted with the HEPA filter facing towards the body. This convolutes the pathway for contaminated air to reach the filter, and mixes in cleaner air on its way to the filter, and has minimal impact on air pressure.
Check that it works
Since breathing resistance is close to zero, wearing this setup is indistinguishable from wearing a mask with a hole in it. One way to confirm that the mask is set up correctly is to squeeze the air hose. If you feel your breath build up, then you can be reasonably sure that your setup has a good seal.
Failsafes
If the battery runs out, the blower unit continues to filter air passively. Fit scores resemble the fit score of the mask alone. As the blower speed increases from low to high, the effect of the HEPA unit takes over, but does not follow a linear increase in fit score. Generally, medium speed provides the best balance in filtration efficiency, breathability, and pressure. Again, air pressure is important because this alone can prevent contaminants from entering the mask, irrespective of the rating of the HEPA filter.
At medium speed, the battery should last 8 hours. Halfway through a work day, you may attach a USB power bank via magnetic charger to the blower. The blower can charge while it provides air pressure. This is called pass-through operation, and is an important component to the Broad AirPro’s safety profile.
If attached properly, the hose should support the weight of the blower unit, so that in case it detaches from the harness, you don’t lose filtration. In the event that the hose and blower detach from each other, you can pinch the hose closed, preventing unfiltered air from entering the mask. This buys you time to get to safety.
If the hose detaches from the mask, plug the mask with your thumb and get to safety.
Risks
Since you don’t smell your own breath, you can’t tell if your mask has gotten stale. There’s nothing wrong with staleness, but it’s a proxy for other things: looser strap, limp filtration material, degraded foam padding. In short, a worse fit. You have to remember to replace your mask. After one month of using the same Dräger X-Plore 1950 M/L in this setup, fit scores look good with the blower on, and look bad with the blower off. Set reminders to change the mask every few weeks.
A word on backyard firepits. While it’s tempting to wear this to a backyard gathering, even a brief exposure to smoke-filled air will make the unit smell for weeks, and cut the usable life of the filter short. Consider wearing a passively filtered mask instead.
When to change the filter
Fit scores show that the H13 HEPA filter continues to do its job for at least 1 year with medium usage.
Meltblown filters never stop working. In fact, they get better the more particles they trap. With a clogged filter, however, the blower might lose air pressure, even while filtration efficiency remains nominal.
Replace the filter once it looks gray, develops a smell, or when the air pressure seems weaker.
Conclusion
And there you have it, your very own powered respirator.
Need Help?
If you’re in the Twin Cities Metro area, send me an email at contact@maskingmatters.org, and I’ll be happy to consult.Did you enjoy this page? If so: Buy me a Coffee